Having dried the hard ground on the polished and de-greased copper plate, I drew into the surface with a fine pointed tool before etching the lines in the copper, hanging the plate in the etching bath for the prescribed time.

I then applied ‘stop-out’ to areas of the plate that I wanted to remain light in the final print i.e. areas that I did not want etched further. I used a painterly approach in some areas where I wanted a more streaky effect. The plate was then sprayed lightly with aquatint and placed in the etching bath again for the prescribed time.

The process of applying more stop-out and respraying with aquatint before further etching is repeated to create a range of tones. The more aquatint that is applied the more etched the plate will be in those areas, and the darker the tone on the final print.
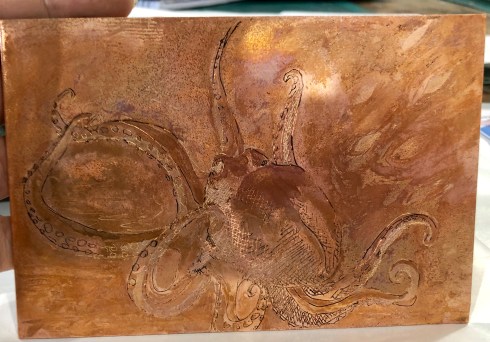
. The plate is gently cleaned to reveal the textural surface. It is ready to be printed!

I was so pleased with this little print. The tiny scratchy squiggles, the white bubbles from the stop-out, the fish shadows, and the impression of light passing diagonally across the scene have all worked out for me. I love aquatint!
